Although both name and id attributes are used to add identifiers to your HTML tags, the two attributes have different purposes for their existence.
This tutorial will help you learn about their differences.
The purpose of the name attribute
The name attribute is an identifier attribute that’s used for sending data through the HTML form elements.
For example, consider the HTML form as shown below:
<body>
  <form method="GET">
    <input type="text" />
    <input type="password" />
    <input type="submit" value="Submit" />
  </form>
</body>
The HTML form above intends to capture the user input for username and password, but since both <input> elements don’t have the name attribute attached to them, the browser won’t send anything when the submit button is clicked.
Submitting the form using the GET method will generate the following URL:
index.html?
Now let’s add the name attribute to both <input> elements as shown below:
<body>
  <form method="GET">
    <input type="text" name="username" />
    <input type="password" name="password" />
    <input type="submit" value="Submit" />
  </form>
</body>
When you submit the form again, you’ll see the username and password form data included in the URL:
index.html?username=nathan&password=nathan
The same process also applies to an HTML form that uses the POST method.
Without the name attribute, any value you have in the HTML form element such as <input>, <select>, or <textarea> element will be excluded from the form submission.
The purpose of the id attribute
The id attribute is a unique identifier for HTML tags meant to single out the element when rendered on the browser.
The element using the id attribute usually has a unique styling attached so that it stands out from the rest.
For example, suppose you have a list of items <ul> element where the first item is colored red. This is one example of how you can create the element:
<p>Name of desserts:</p>
<ul>
  <li id="special">Chocolate</li>
  <li>Ice cream</li>
  <li>Apple pie</li>
</ul>
You can then create a CSS rule for the id using the hash (#) selector as follows:
#special {
  color: blue;
  background-color: black;
}
Having two or more elements with the same id attribute value in one page is considered invalid, but you won’t receive any error because browsers are made to be fault-tolerant when it comes to rendering HTML.
In the past, the rule for CSS styling is that unique styles are applied to the id while general styles are applied to the class.
But since modern CSS practice tends to style everything using class – especially utility first CSS framework like Tailwind – the id attribute is now mostly used to associate the <label> tag with an input element.
id attribute for labels
The id attribute in form elements can be used to associate a <label> tag with a specific input element.
For example, consider the following HTML form code:
<body>
  <form method="GET">
    <div>
      <label for="username">Username</label>
      <input type="text" name="username" id="username" />
    </div>
    <div>
      <label for="password">Password</label>
      <input type="password" name="password" id="password" />
    </div>
    <input type="submit" value="Submit" />
  </form>
</body>
The <label for="username"> tag will associate that label with the <input id="username" /> element.
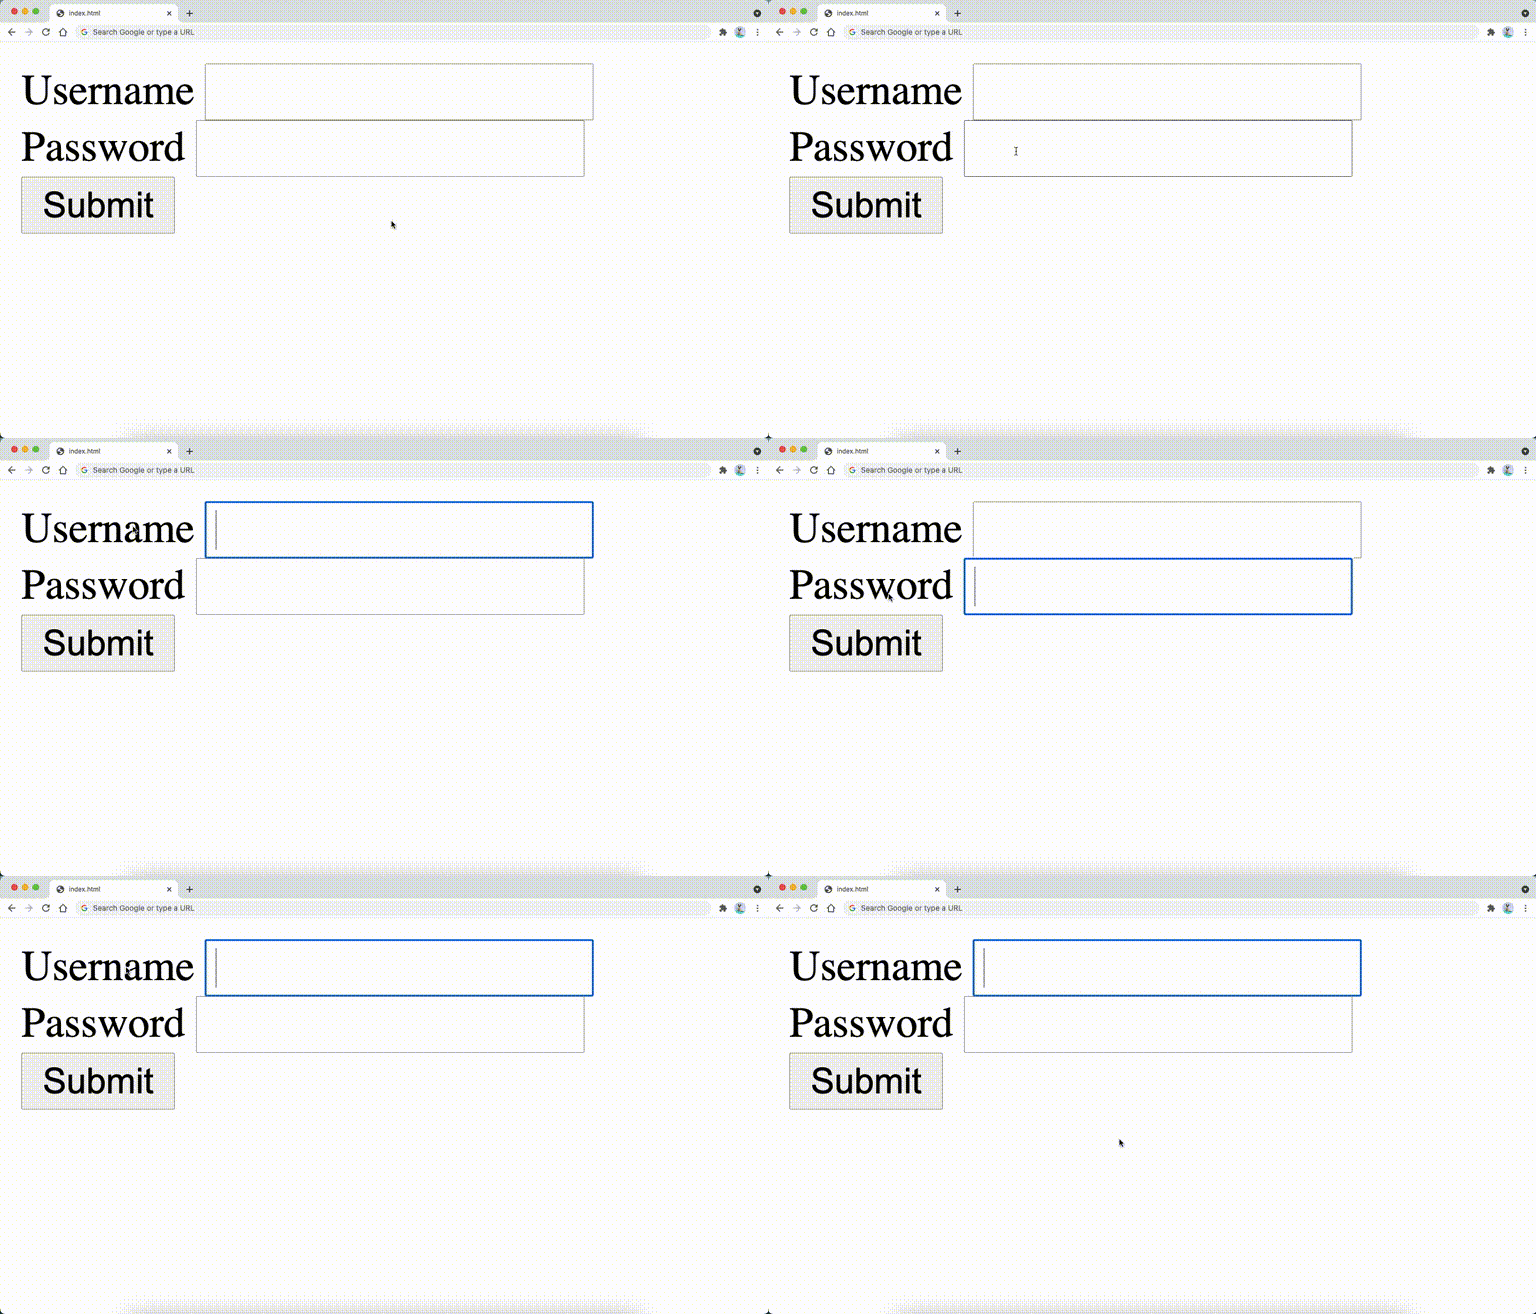
When you click on the label from the browser, you will automatically shift the browser focus to the <input> element:
Without the for or the id attribute, the browser will do nothing when you click on the <label> element. The same rule apply to other input elements like <textarea> and <select>.
Now you’ve learned the difference between the name and the id attribute. Nice work 😉
