A background image can be added to any specific HTML element of your choosing to add a unique spin to your webpage.
Before HTML5 was released, the HTML document supports adding the background attribute to any element. The attribute was deprecated in HTML5 because changing the background is the job of CSS and not HTML.
This tutorial will show you how to use the background-image CSS property to style your HTML document.
Adding a background image using URL
The background-image property accepts the url() value that can be used to add an image as a background for a specific HTML tag.
For example, here’s how to add an image.jpeg file (the image is downloaded from Unsplash) as the background image of the <body> tag:
<body style="background-image: url('./image.jpeg')">
</body>
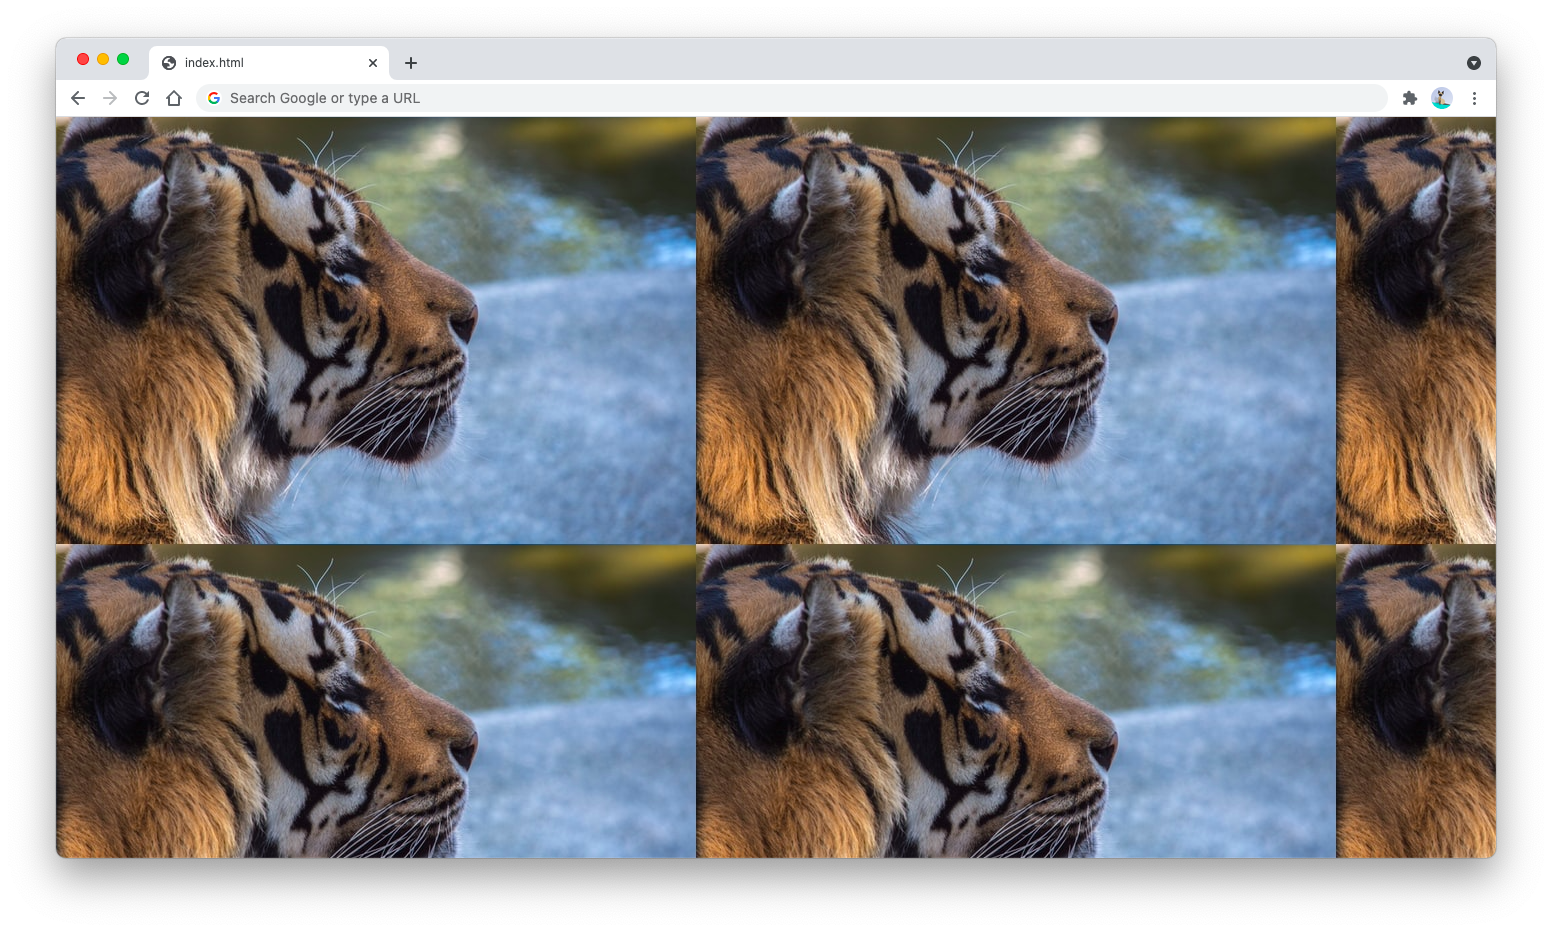
The code above will produce the following output:
By default, the background image will repeat itself horizontally and vertically until it covers the entire element rendered on the browser.
To make the image fit the full screen size, you need to add two more properties to your CSS rule:
- The
background-repeatproperty must be set tono-repeatso that the image doesn’t repeat itself - The
background-sizeproperty must be set tocoverso that the image will cover the entire element size
The following CSS rule will do:
body {
  background-image: url("./image.jpeg");
  background-repeat: no-repeat;
  background-size: cover;
}
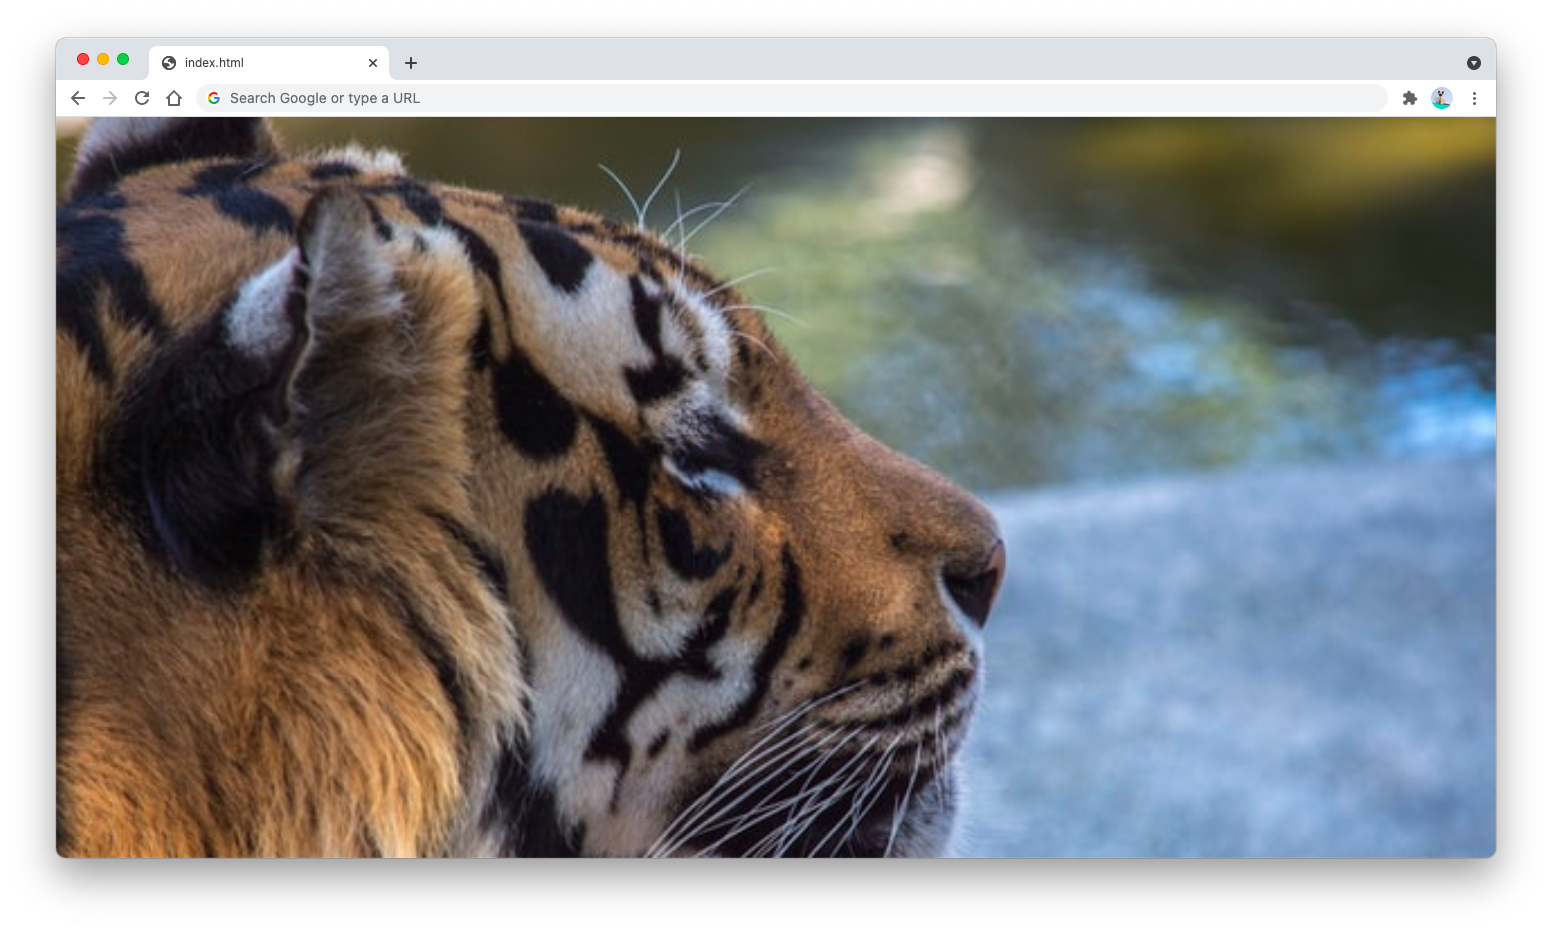
The output will be as shown below:
The background image will be blurry when it has to stretch to fit the whole <body> tag. If you want a full screen background, make sure that the image’s original size is large enough to avoid blurry background.
I’d recommend a size of 1920 x 1080 so that the image looks good on a desktop computer.
You can add the background-image property to any HTML tag that you have inside your document.
Instead of styling the tag itself, it’s better to put the background image styling inside of a class. When you need the background image, you just need to add the class to the element:
.bg-tiger {
  background-image: url("./image.jpeg");
  background-repeat: no-repeat;
  background-size: cover;
}
Now you can add the class to any HTML tag that you want to have a background image:
<body class="bg-tiger">
  <h1>Hello World!</h1>
  <h2>By Nathan</h2>
</body>
Keep in mind that adding a background image will affect the readability of your text. You may need to change the color of your text or add a <div> tag with a solid background color.
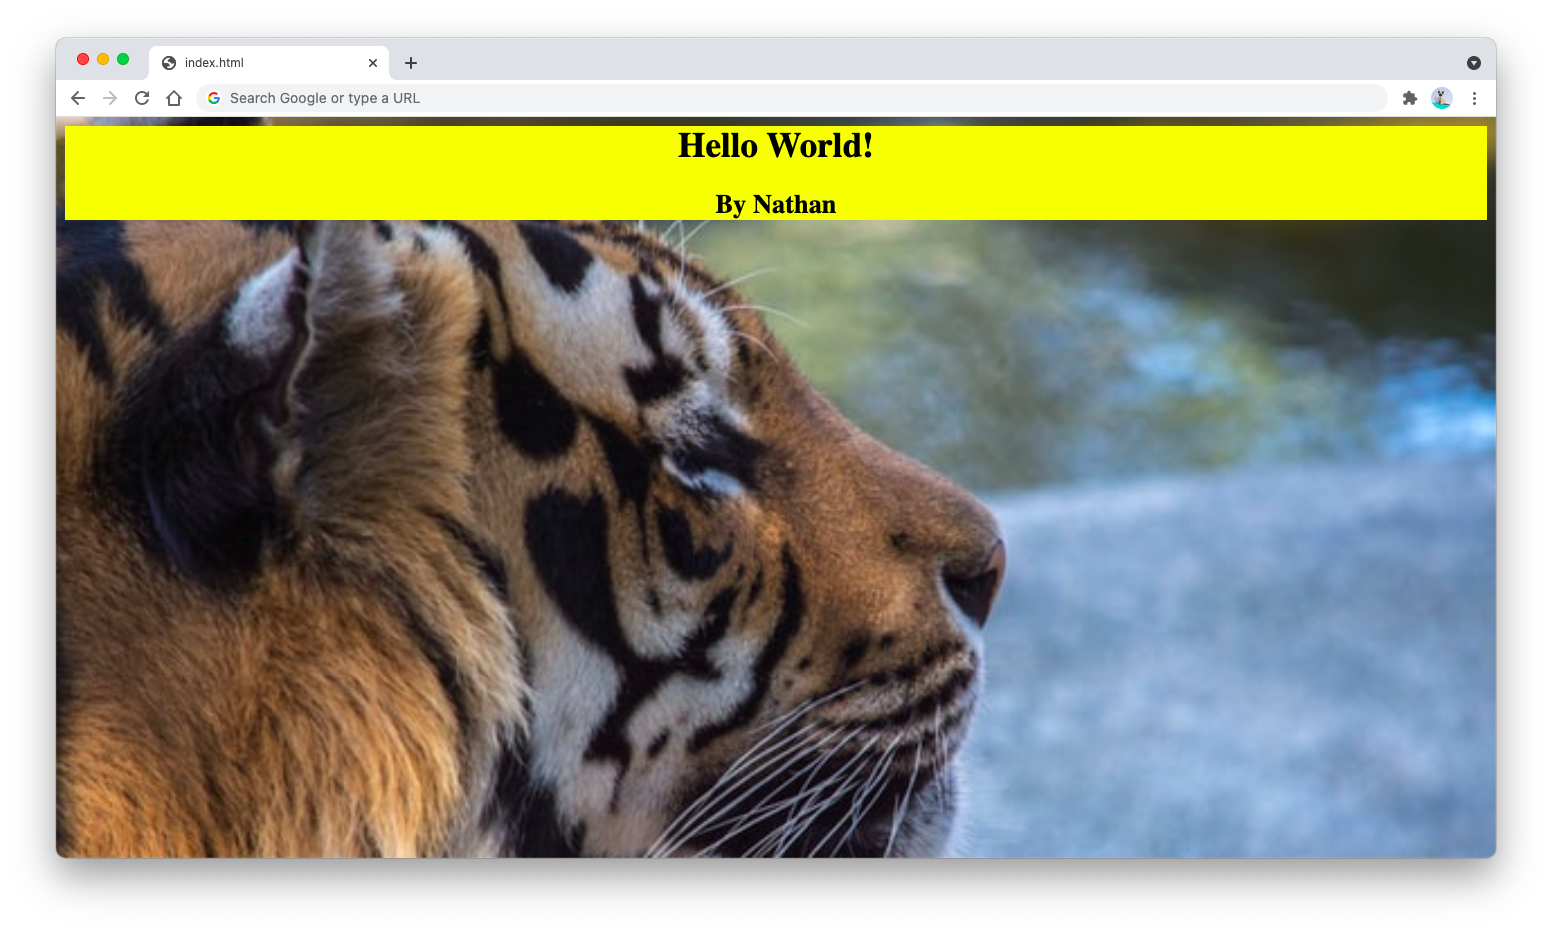
The following example uses a <div> tag to add a yellow background on top of the background image:
<body class="bg-tiger">
  <div style="text-align: center; background-color: yellow">
    <h1>Hello World!</h1>
    <h2>By Nathan</h2>
  </div>
</body>
The output will be as shown below:
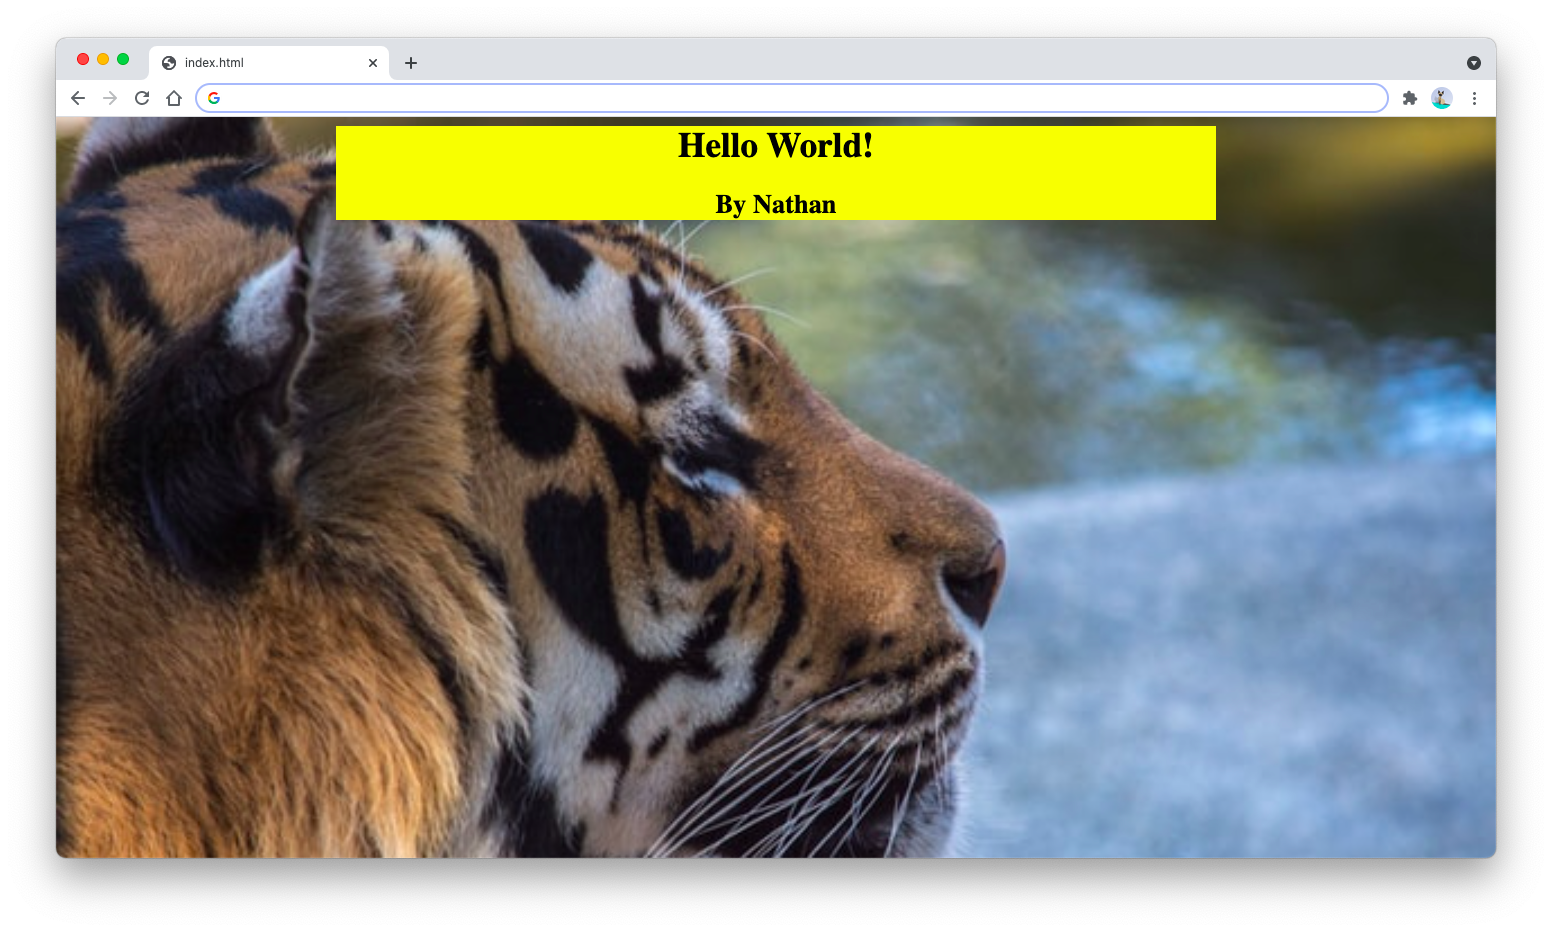
You can also wrap your div at the center of the <body> tag by adding the width and margin properties as follows:
<body class="bg-tiger">
  <div
    style="
      text-align: center;
      background-color: yellow;
      width: 800px;
      margin: 0 auto;
    "
  >
    <h1>Hello World!</h1>
    <h2>By Nathan</h2>
  </div>
</body>
The output will be as follows:
Now you’ve learned how to add background images to HTML elements. Nice work 👍


