This tutorial will help you learn how you can accept a file uploaded using HTML <input> tag and process it using PHP code.
To accept a file upload using HTML, you need to write an <input> tag with POST as its method attribute and multipart/form-data as its enctype attribute.
Create a file named index.html with the following content:
<html>
  <body>
    <form action="" method="POST" enctype="multipart/form-data">
      <input type="file" name="the_uploaded_file" />
      <input type="submit" value="Submit Form" />
    </form>
  </body>
</html>
PHP will accept a file uploaded by HTTP POST method in the $_FILES variable.
Next, create a PHP file named action.php with the following content:
<?php
if (isset($_FILES['the_uploaded_file']))
{
    $file_name = $_FILES['the_uploaded_file']['name'];
    $file_size = $_FILES['the_uploaded_file']['size'];
    $file_type = $_FILES['the_uploaded_file']['type'];
}
?>
<html>
  <body>
    <ul>
      <li>Sent file: <?php echo $file_name; ?>
      <li>File size: <?php echo $file_size; ?>
      <li>File type: <?php echo $file_type; ?>
    </ul>
  </body>
</html>
PHP uses the <input> tag’s name attribute to name the array object it appends to the $_FILES variable.
The last step is to add the name of the PHP file as the form’s action attribute:
<form
  action="action.php"
  method="POST"
  enctype="multipart/form-data">
With that, you now have a working PHP script to accept file uploads.
You need to run a PHP server and upload a file using the index.html page.
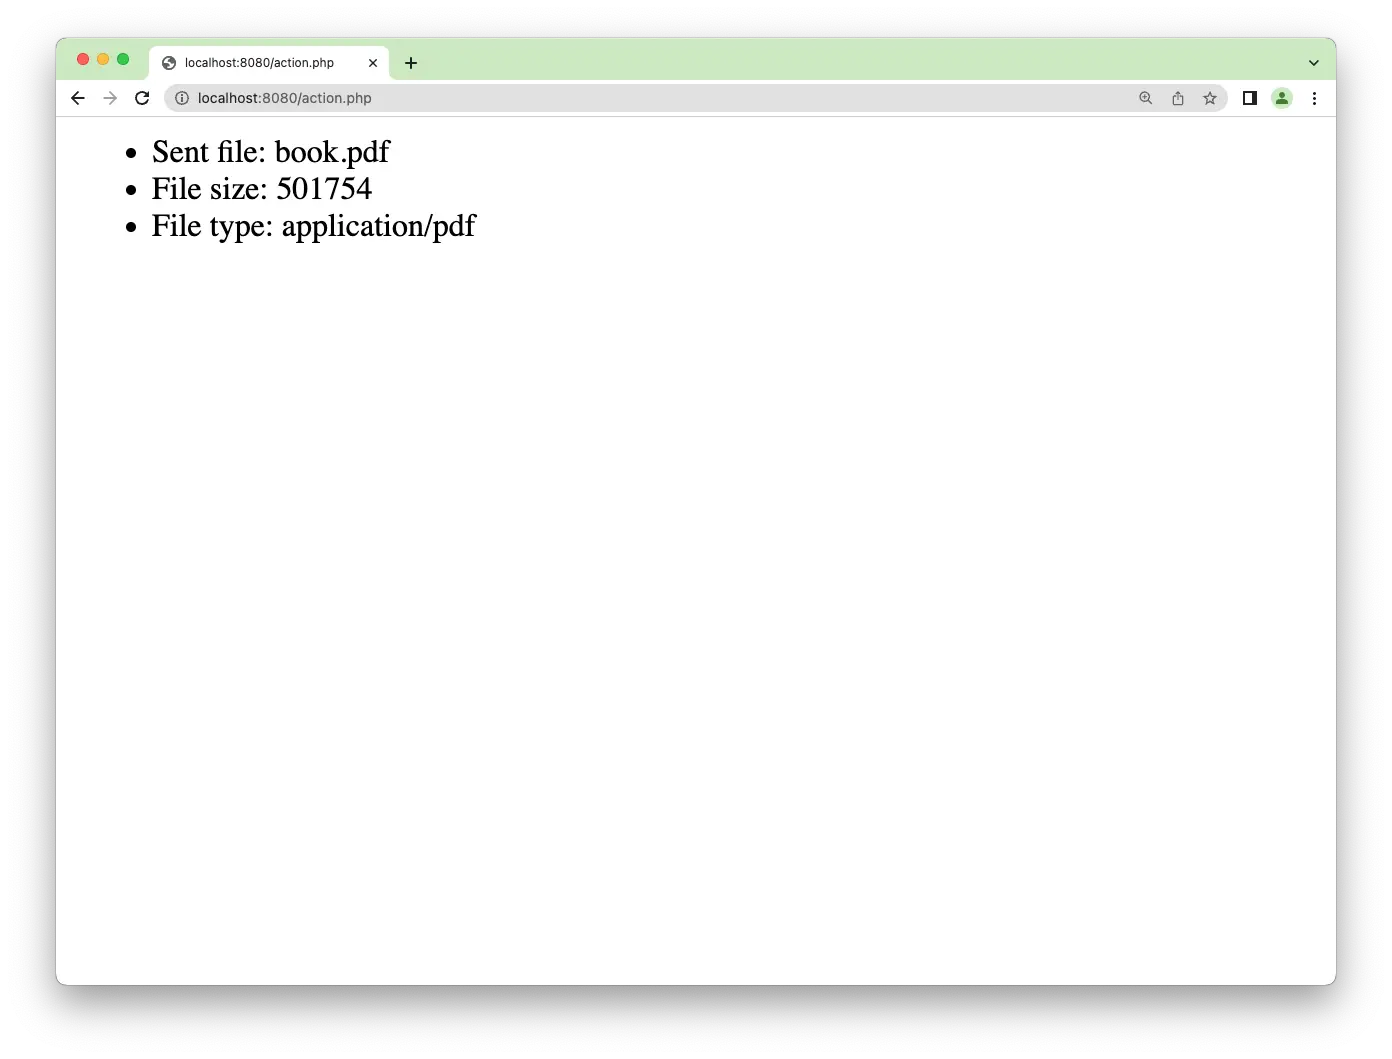
The result will be shown in action.php page as shown below:
The output above means the image has been successfully uploaded to the tmp/ folder.
To put the file in a folder on your computer, you need to use the PHP move_uploaded_file() function.
The function require two arguments:
- The file you want to move -
$file_tmp_name- as astring - The new path where you want to place the file -
$upload_path- as astring
For example, you can add the following code in action.php file:
<?php
if (isset($_FILES['the_uploaded_file']))
{
  $file_name = $_FILES['the_uploaded_file']['name'];
  $file_tmp_name = $_FILES['the_uploaded_file']['tmp_name'];

  $upload_path = './assets/'.$file_name;
  move_uploaded_file($file_tmp_name, $upload_path);
}
?>
You need to get the tmp_name from the uploaded file because that’s where PHP is keeping the uploaded file.
Then, get the complete path for the new file location, including the directory and the file name.
In the above script, the new file location is in ./assets/book.pdf, so PHP will save the uploaded file there.
Now you’ve learned how to upload a file using a PHP script.
You can also add more code to serve as validations before uploading the file.
For example, you can check the extension and allow only jpeg, png, or jpg image extensions to be uploaded:
// 👇 get the file extension
$file_ext = strtolower(end(explode('.',$_FILES['the_uploaded_file']['name'])));

$allowed_extensions = array('jpeg','jpg','png');

// 👇 then check if the extension is valid
if(in_array($file_ext,$allowed_extensions) == false){
  throw new Exception('Extension must be jpeg, jpg, or png');
}
Or you can also limit the maximum file size allowed for the file:
// 👇 get the file size
$file_size = $_FILES['the_uploaded_file']['size'];

// 👇 the size must not be greater than 5MB
if($file_size > 5000000){
  throw new Exception('File size must not be greater than 5MB');
}
You can extend the PHP file upload script as you need.
