The drawImage() method is a method from the Canvas API that allows you to add an image into your <canvas> element.
Just like the fillRect() method, the drawImage() method is a part of Canvas 2D API, so you need to get the Context object of your <canvas> element first and call the method from there.
For example, suppose you have the following <canvas> and <img> element in your HTML page:
<body>
  <canvas
    id="myCanvas"
    width="300"
    height="300"
    style="background-color: red"
  ></canvas>
  <img
    id="imgSource"
    src="image.jpg"
    style="display:none;"
  />
</body>
The style="background-color: red" is added to the <canvas> element so you can see the edge of the canvas. Also, notice how the <img> element is hidden from view using the style="display:none;" attribute.
Let’s put the image inside the canvas. First, get the 2D context of the Canvas with the getContext() method as follows:
let canvas = document.getElementById("myCanvas");
let ctx = canvas.getContext("2d");
The drawImage() method requires three parameters to work:
- The
imageobject element - The
xcoordinate to place the object in the canvas - The
ycoordinate to place the object in the canvas
Here’s an example of adding the image with the id of imgSource to the canvas:
let img = document.getElementById("imgSource");
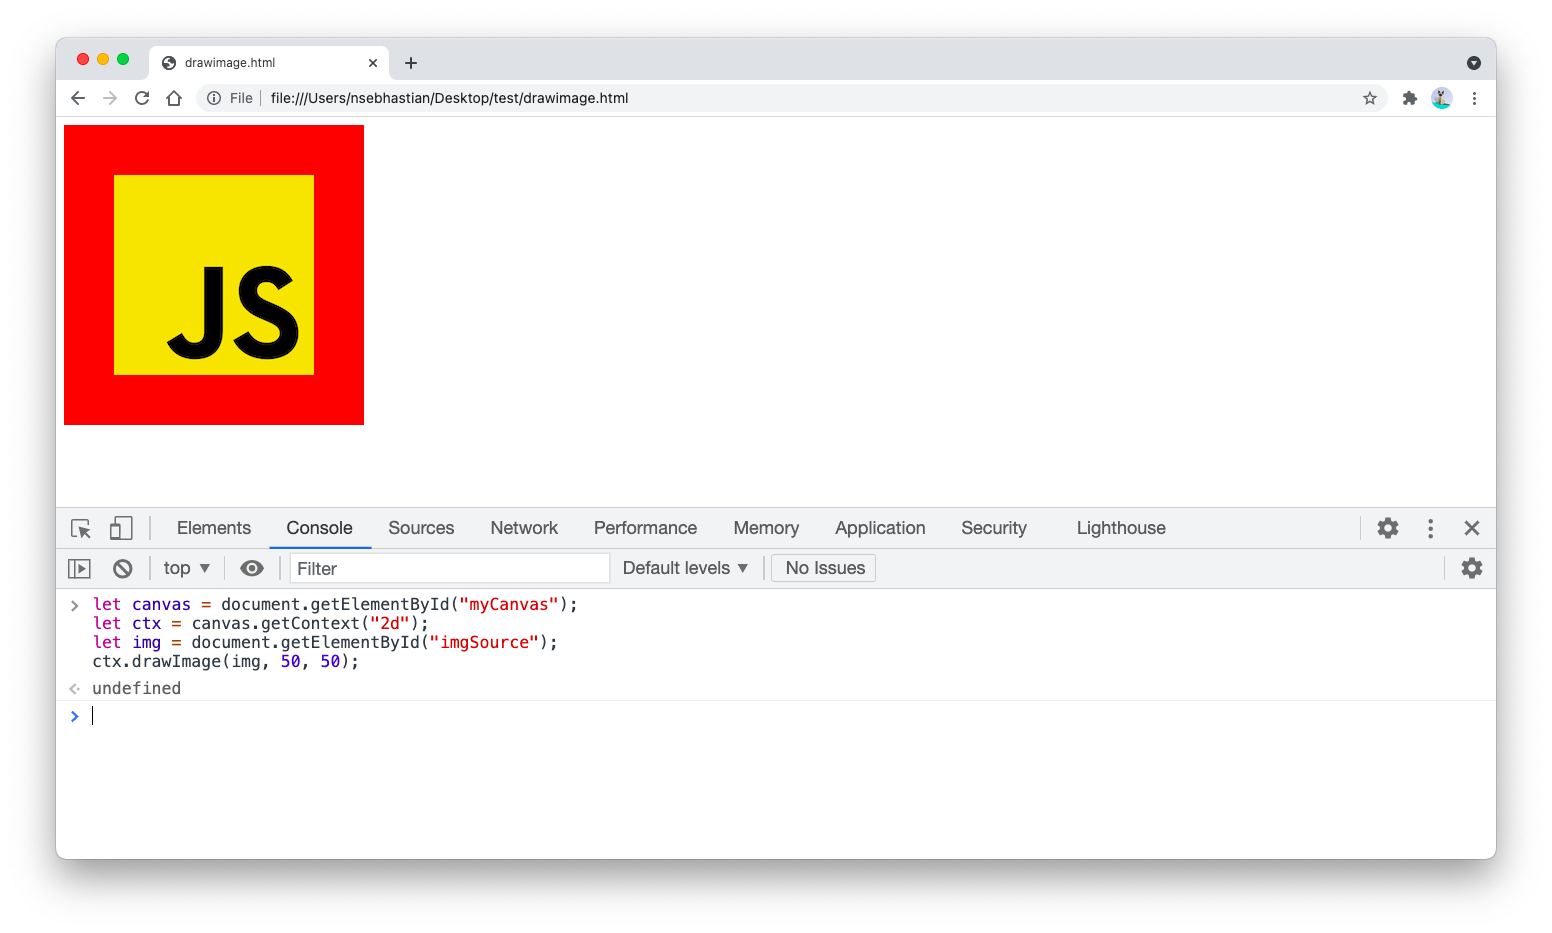
ctx.drawImage(img, 50, 50);
The code above will add the image element to the canvas. Here’s an example of my canvas using a JavaScript logo image with the size of 200 X 200:
While the drawImage() method requires only three parameters to work, you can actually pass a total of 9 parameters to the method, depending on what you want to do with the object.
To place an image to the canvas, you need to pass three parameters as you’ve seen previously: The image element, the x coordinate, and the y coordinate to draw the image.
drawImage(image, x, y);
Next, you can also adjust the width and height of the image by passing two optional parameters (five parameters in total)
drawImage(image, x, y, width, height);
Finally, you can also clip the image and add the clipped image to your canvas by passing four additional parameters:
- The
sxandsycoordinate to start clipping the image - The
sWidthandsHeightparameters to determine the width and height of the clip
ctx.drawImage(img, sx, sy, sWidth, sHeight, x, y, width, height);
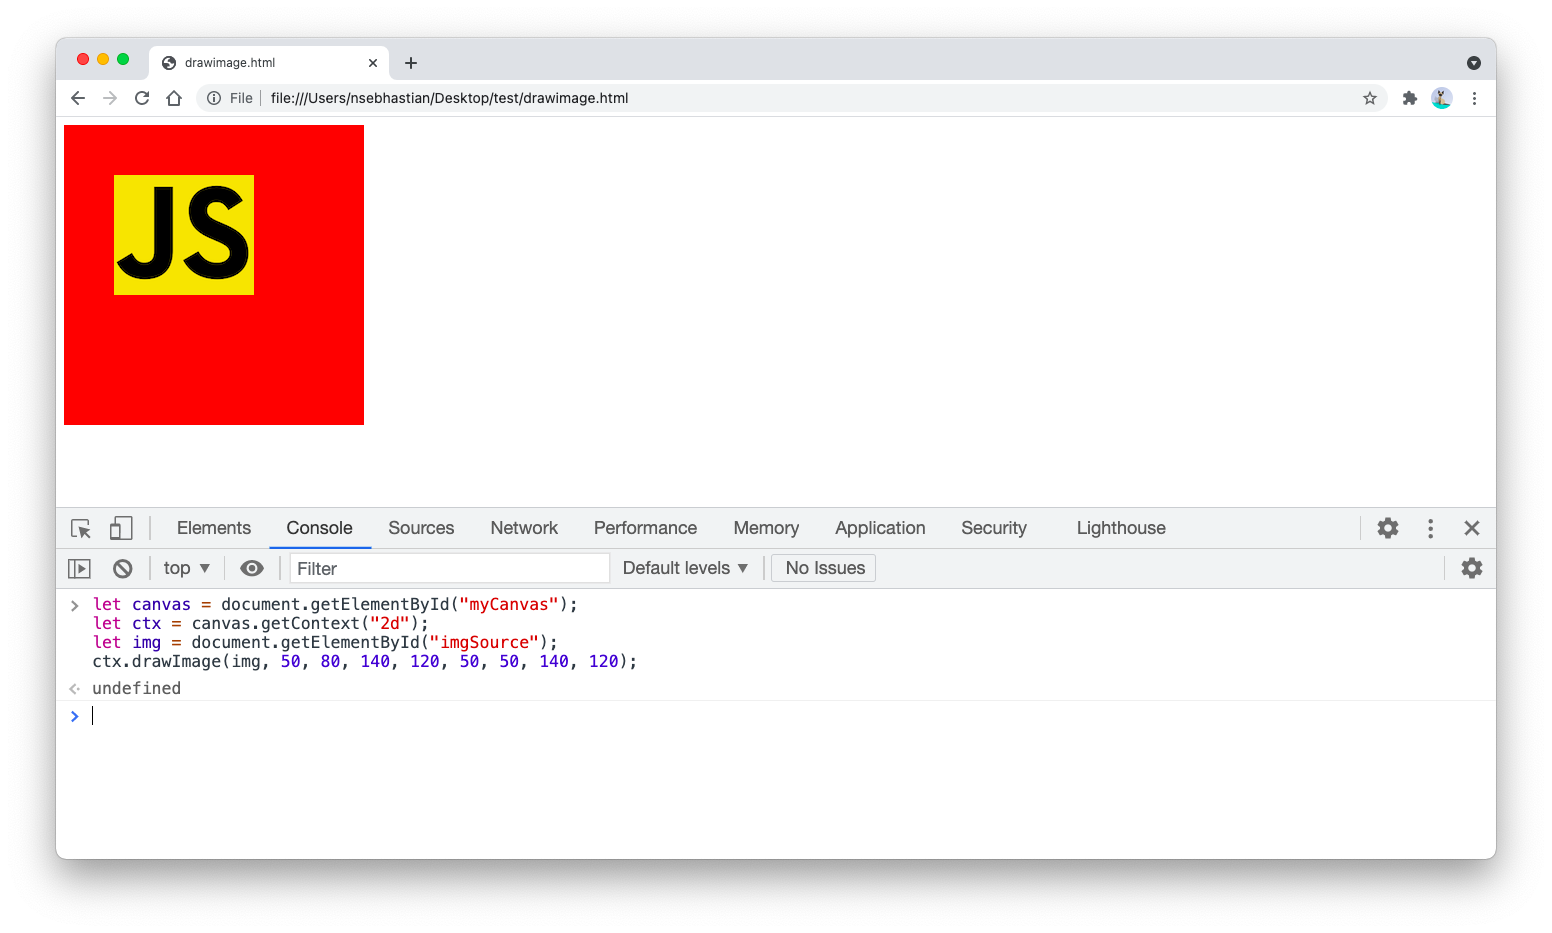
For example, here’s the snippet to clip the JavaScript logo, where only the JS letter is visible from the image:
ctx.drawImage(img, 50, 80, 140, 120, 50, 50, 140, 120);
The result would be as follows:
You might wonder why you still need to pass the width and height of the image (the last two parameters) to add to the canvas when you’re using the clipped image.
This is because you can still resize the image after clipping. Without specifying the width and height of the image, the drawImage() method will throw the Overload resolution failed error.
And that’s how you can use the drawImage() method to add one or more images to a <canvas> element. When you draw multiple images to the canvas, don’t forget to specify a different x and y parameters for each image, or your next image will stack on top of the previous image.

