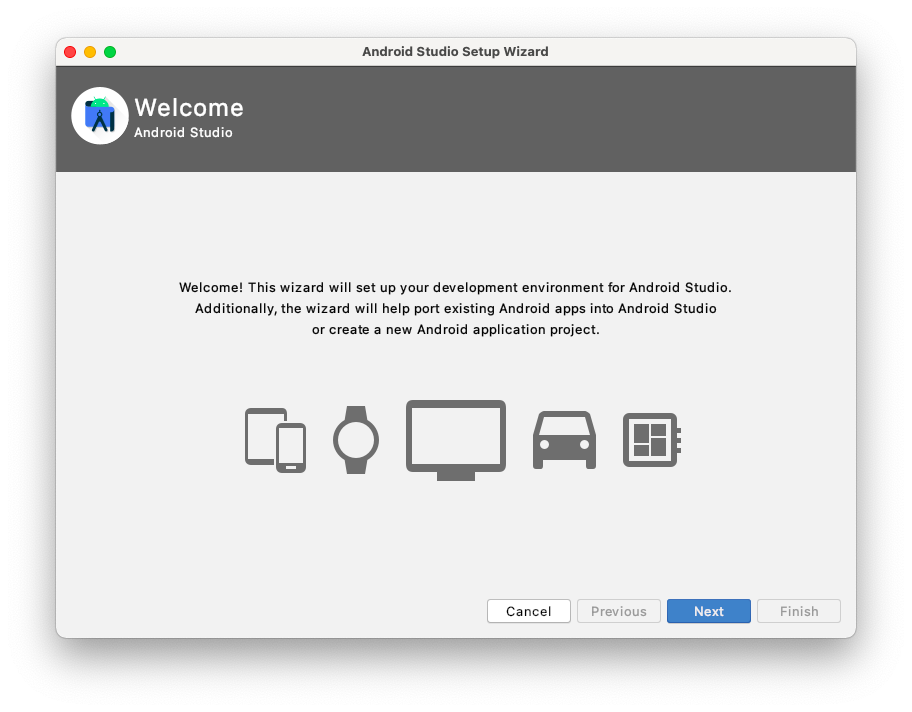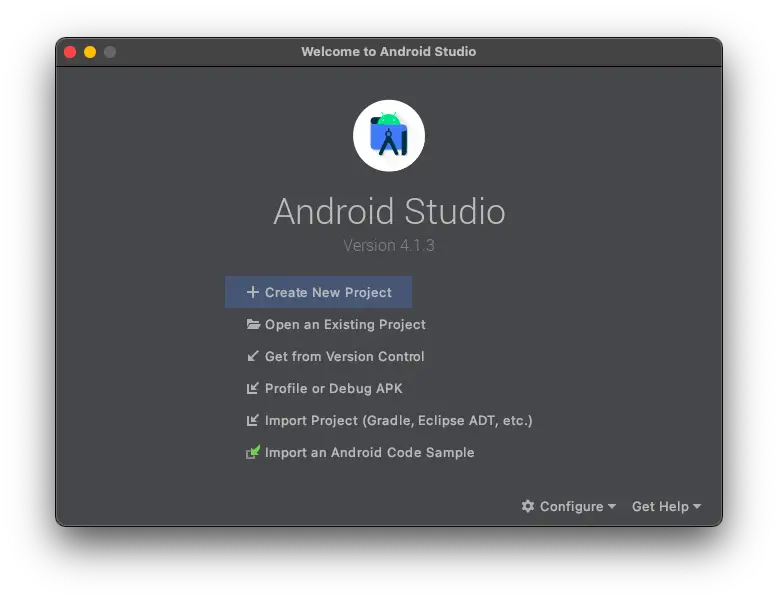
When you open Android Studio for the first time, a setup assistant will guide you to configure your Android Studio so that you can get the best developer experience available. Below is the welcome window from Android Studio:
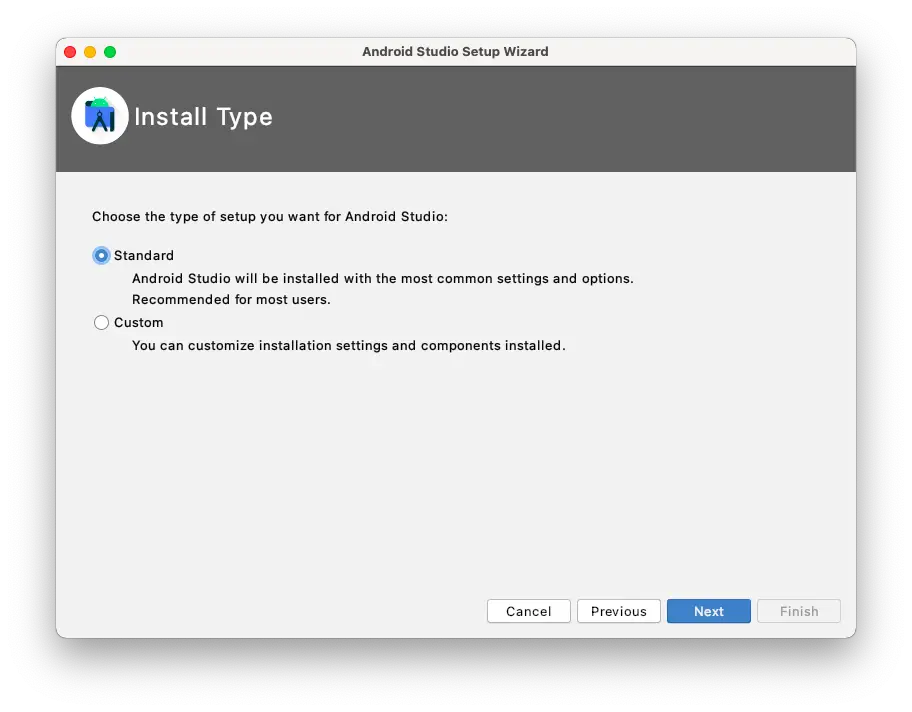
Just click Next, and you’ll be taken to the Install Type setting for your Android Studio:
I recommend you to use the Standard installation because it will take care of installing any additional software required by Android Studio. It will download the latest version of the following packages:
- Android SDK (Software Development Kit) for the latest Android version
- JDK (Java Development Kit)
- Android Emulator
- Build tools and sources for Android
Using Standard installation ensures that you get the latest features.
After Install Type setting, you will be asked to choose the theme for your Android Studio. You can choose between Light theme and Darcula (Dark) Theme:
The theme you choose is up to you, but I recommend you to choose the Dark Theme to reduce eye strain and increase focus. If you use other development tools like Visual Studio Code, chances are you’re also using the default dark theme, so picking a Dark Theme for Android Studio would make you feel at home in no time.
Still, it all comes down to personal preferences, so feel free to go with the Light Theme. You can change the theme later anyway if you change your mind. I will use the Dark Theme for the rest of this tutorial.
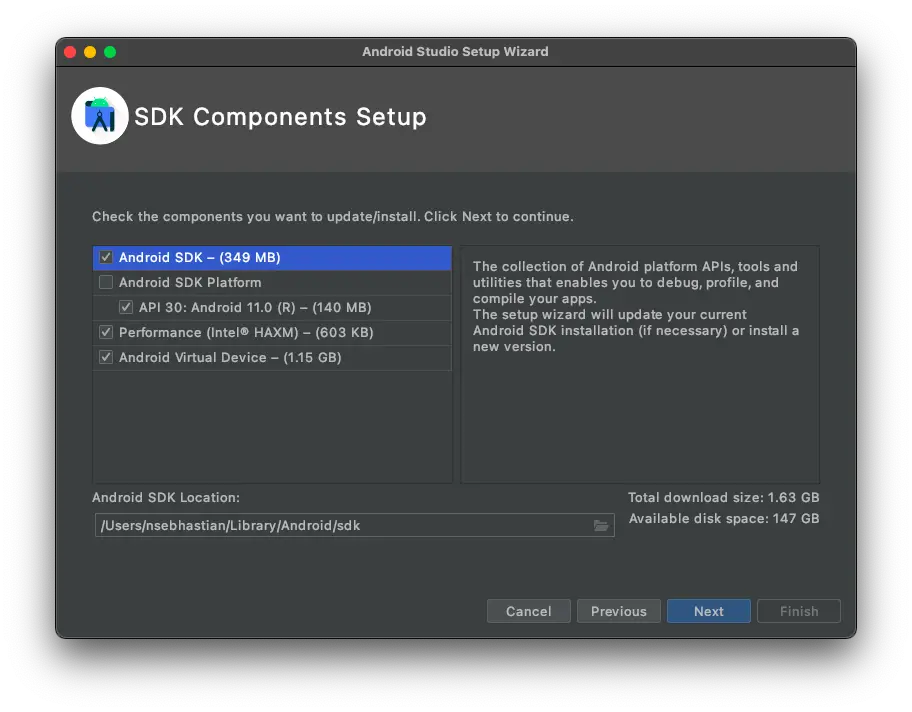
Next, you will be asked to check on Android SDK components that you want to install on your computer:
You don’t need to change any settings in this window, just let Android Studio download the latest SDK for Android development because it probably offers the best developer experience for you.
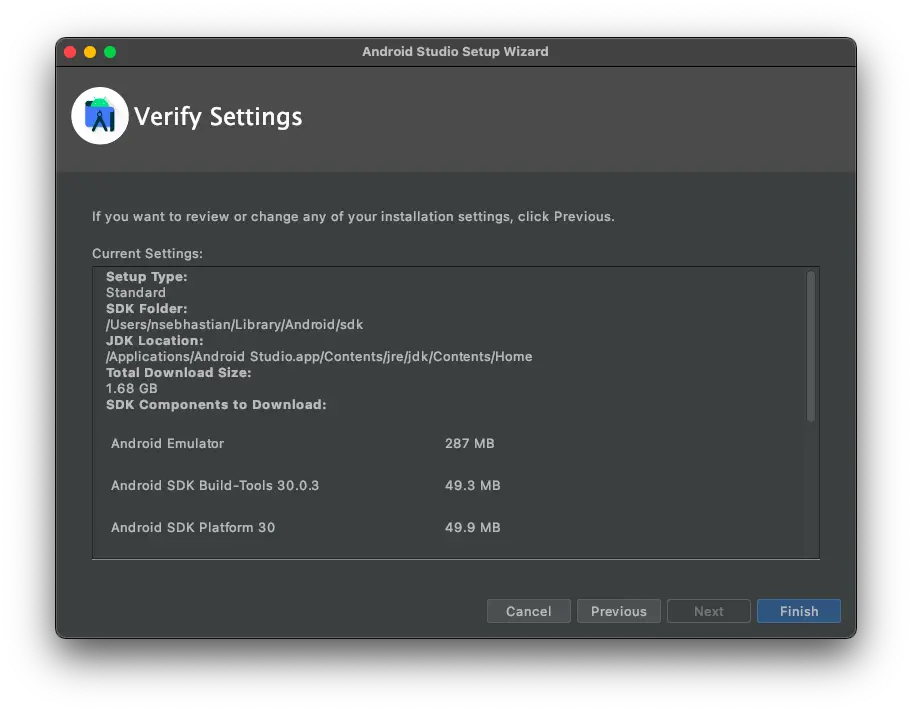
Finally, you have the Verify Settings window, where you need to verify the settings you’ve chosen for Android Studio:
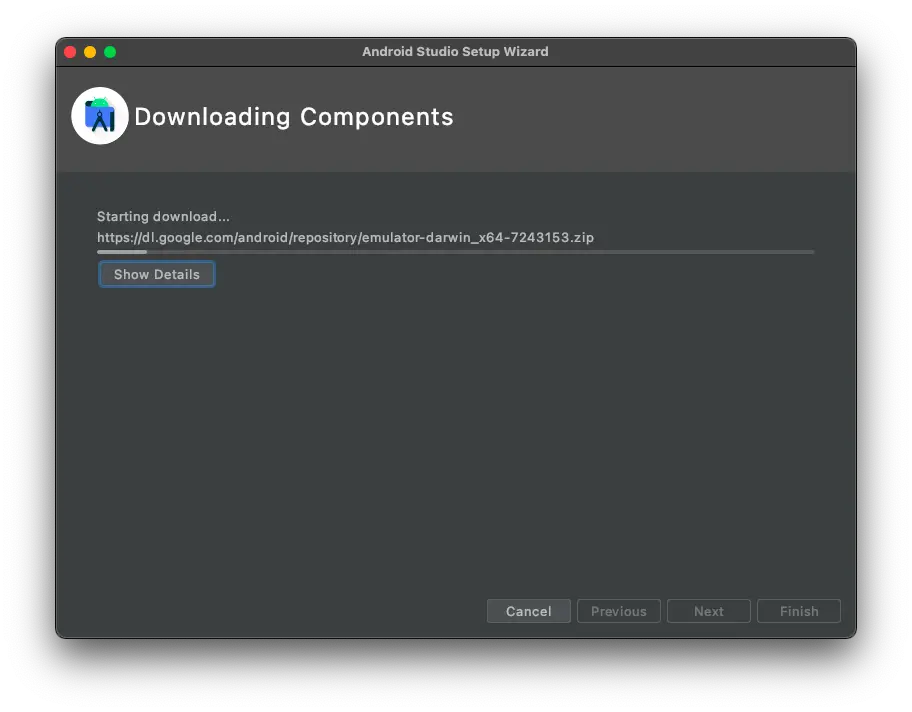
Once done, hit the Finish button and Android Studio will start downloading and installing required softwares. Now you can take a break and sip a coffee if you want to, because Android Studio will take some time to finish the installation process.
Once done, you can start creating a new Android application project as shown below:
Your Android Studio setup is now complete.
Custom Android Studio setup
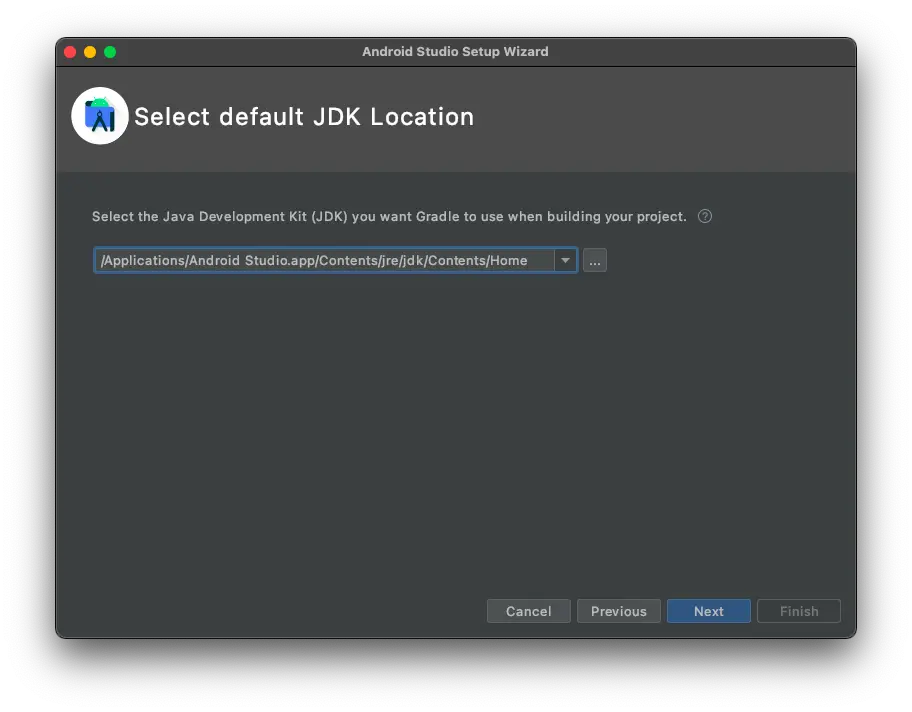
If you want to manually set up the Android Studio configuration, you can choose Manual from the Install Type window. You will be asked to configure a few additional setups. First, you need to select the location to install JDK:
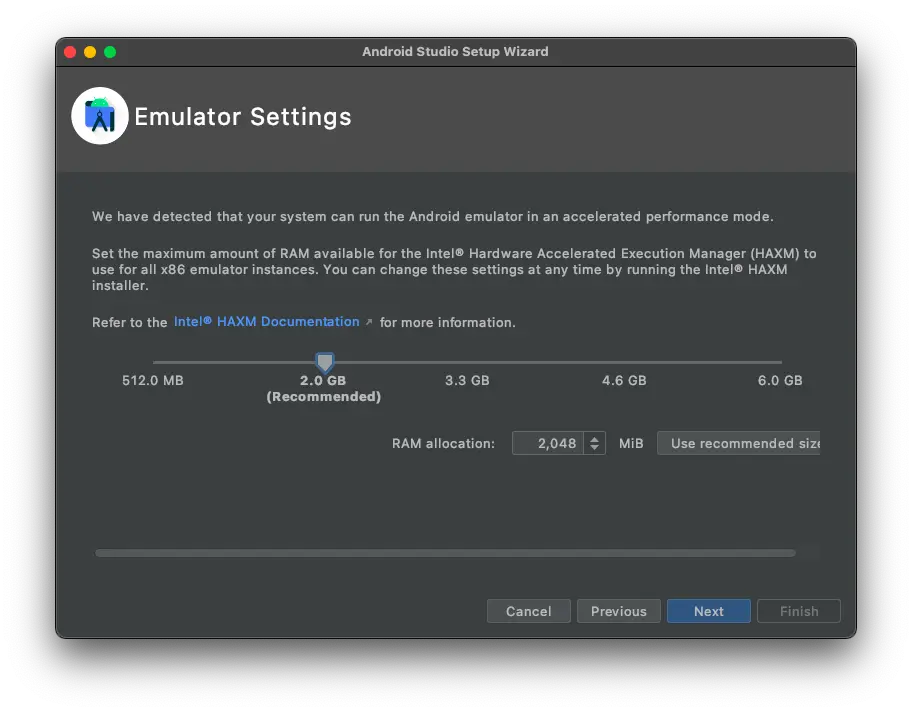
Then, you need to select the theme for your Android Studio and choose SDK components to install, just like in Standard installation. After that, you need to configure Android emulator settings and choose the amount of RAM memory you’d like to allocate for the emulator:
It’s recommended to at least allocate 2GB of memory for Android emulator, or you may use a real Android device to test your application. Once you set the RAM amount, you’ll be directed to the Verify Settings screen, where you can review Android Studio configurations:
Click the Finish button and Android Studio will start downloading and installing required softwares. You may need to restart your computer to finish the installation:
Once the installation is done, your Android Studio is ready to help you create a new Android application project.
